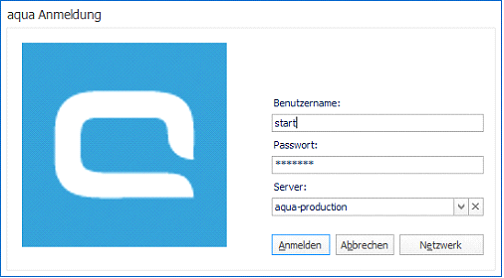
Before configuring your first synchronization, there are three objects that need to be created: user accounts, projects, and you also need to install the aquaSyncConfigurator.
Creating Accounts
In order to establish the basis for the synchronization tools, the following accounts should be available for the user:
- aqua account: this account should have “Project Administrator” permissions configured within the project (folder) where the Jira elements will be stored.
Note: in aqua, the email address linked to this project will receive automatic notification emails if, for instance, the synchronization configuration is corrupted.
- aqua Jira Sync: this account should have a special user with a Jira-Sync license (available for free via support) who has “Project Administrator” permissions configured within the project (folder) where the Jira elements will be stored. Besides that, the user needs to be in the group jira-administrators.
- JIRA account: this account should have the following permissions in order to create and configure project folders which will be connected to aqua Project:
Furthermore, the user must use the language English (UK), which has to be configured in Jira.
Creating fields in aqua
This step is needed in aqua. There have to be four preconfigured aqua custom fields that are used to store and hold issue information for the Jira sync. This information is obtained from a specific Jira issue and is used to differentiate between all issues stored in the folder. While these four fields need to exist to store information, they do not need to be displayed in aqua’s defect layout:
Jira ID (mandatory): this is the issue ID given by Jira for each issue. The name is structured with the letters of the Jira Project Key first, followed by the issue number. For example, the first issue created in our project “Test syncronization (TS)” would have the JIRA ID: TS-01. Choose JiraID.
Jira link (optional): clicking the link contained in this field will open the predefined browser and will display the specific issue in Jira. Choose JiraLink.
Activating Sync in the Database
Furthermore, you have to activate the Jira Sync in your database. Please note that the synchronization with REST protocol only works with aqua 16 (and higher).
|
DB
|
Technology
|
Query
|
|
MsSQL
|
REST
|
insert into SyncModuleType Values('Jira Rest','aqua.SyncJira.SyncJira, aquaSyncJira',1,0);
|
|
Oracle
|
REST
|
INSERT INTO SYNCMODULETYPE VALUES (SYNCMODTYPE_ID_SEQ.nextVal, 'Jira Rest', 'aqua.SyncJira.SyncJira, aquaSyncJira', 1, 0);
commit;
|